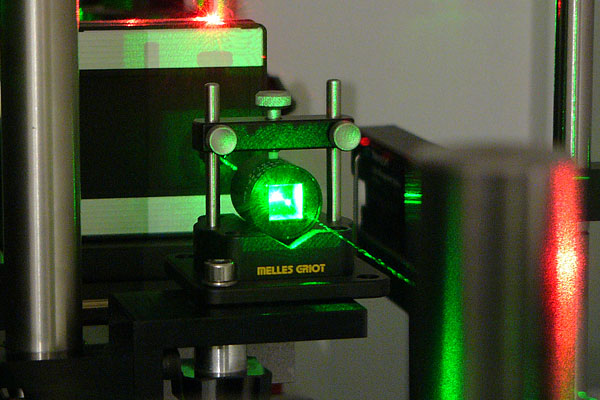
Holograms are made using a LASER which produces a special kind of light in one pure colour. This light has the ability to transfer information about an object’s surface characteristics and location in 3D space, to a light sensitive plate. When a hologram is recorded, the complex information in the laser light reflected from the object, known as the object beam wave front, combines with a ‘plain’ wave front, or reference beam, forming microscopic fringes on the recording plate. The hologram when viewed, faithfully replays these wave fronts creating a 3D image of the object complete with all of the surface details.
In order to achieve this you need a number of optical components including mirrors, lenses and a special optical table made of stainless steel and weighing over a tonne. The optical arrangement is customised for each image, and this can take days to accurately assemble. Every single component in the set up including the object needs to be incredibly stable, to within a tenth of the wavelength of light. Traffic, heat from a radiator and people talking can cause enough movement to destroy the microscopic fringes that make up a hologram. Even molecular cell movement will ruin the fringe structure. So a very quiet environment is essential.
We make all forms of traditional hologram, but we specialise in multicolour reflection holography. In terms of realism these holograms are very hard to beat. With multiple colours an image is formed that can be both creatively stimulating and scientifically accurate as a recording medium in 3D. Because of the complex processes involved in the making of these holograms there are no more than a few individuals in the world now producing them.
Most of the holograms that you will see pictured throughout this site, are multicolour reflection holograms, recorded on the highest resolution holographic glass plates available. These are needed to hold the immense amount of microscopic information. Even the best conventional photographic film would not be able to record such detail.
The first step in producing these images is to make a master laser transmission hologram (See Fig. 1). One of these masters is made for each pure colour in the final hologram. Once all the masters have been processed they can then be viewed under laser light .
The next stage is to produce a reflection hologram copy, which is viewable in white light (See Fig. 2). There are many considerations when doing this such as colour registration (in 3D!), balance between colours and achieving the correct colour in the first instance, which is done by treating the holographic plate chemically to swell the emulsion and thus change the reconstruction wavelength.


